

Published June 2026
Your guide to composting
Waste is a human invention. Every other organism on earth operates in cycles. Nothing is discarded, everything is reabsorbed. We opted out of that arrangement somewhere along the way, and our soils are paying for it.
Composting is how you opt back in. It transforms organic waste: vegetable peelings, coffee grounds, cardboard, grass clippings, into a nutrient-dense soil amendment that improves structure, feeds microbial life, retains water, and reduces the need for chemical inputs. It is one of the most straightforward things a household can do to close the loop between food and soil.
The benefits, briefly:
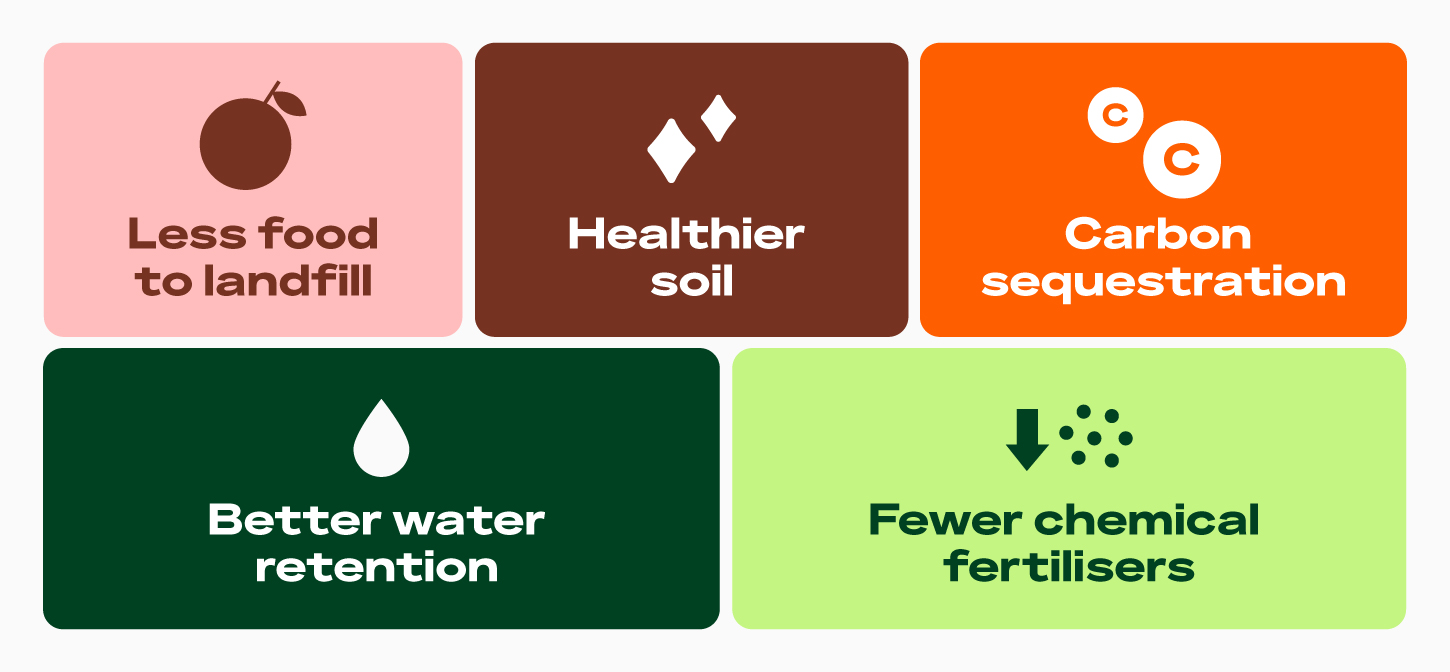
Globally, roughly a third of all food produced for human consumption is lost or wasted. A significant share of that ends up in landfill, where it breaks down anaerobically and releases methane. Your compost bin is a small but genuinely non-trivial intervention in that chain.
Here’s how to get started.
Step 1: Choose your method
Not everyone has a garden, and you don’t need one. There are three routes in:
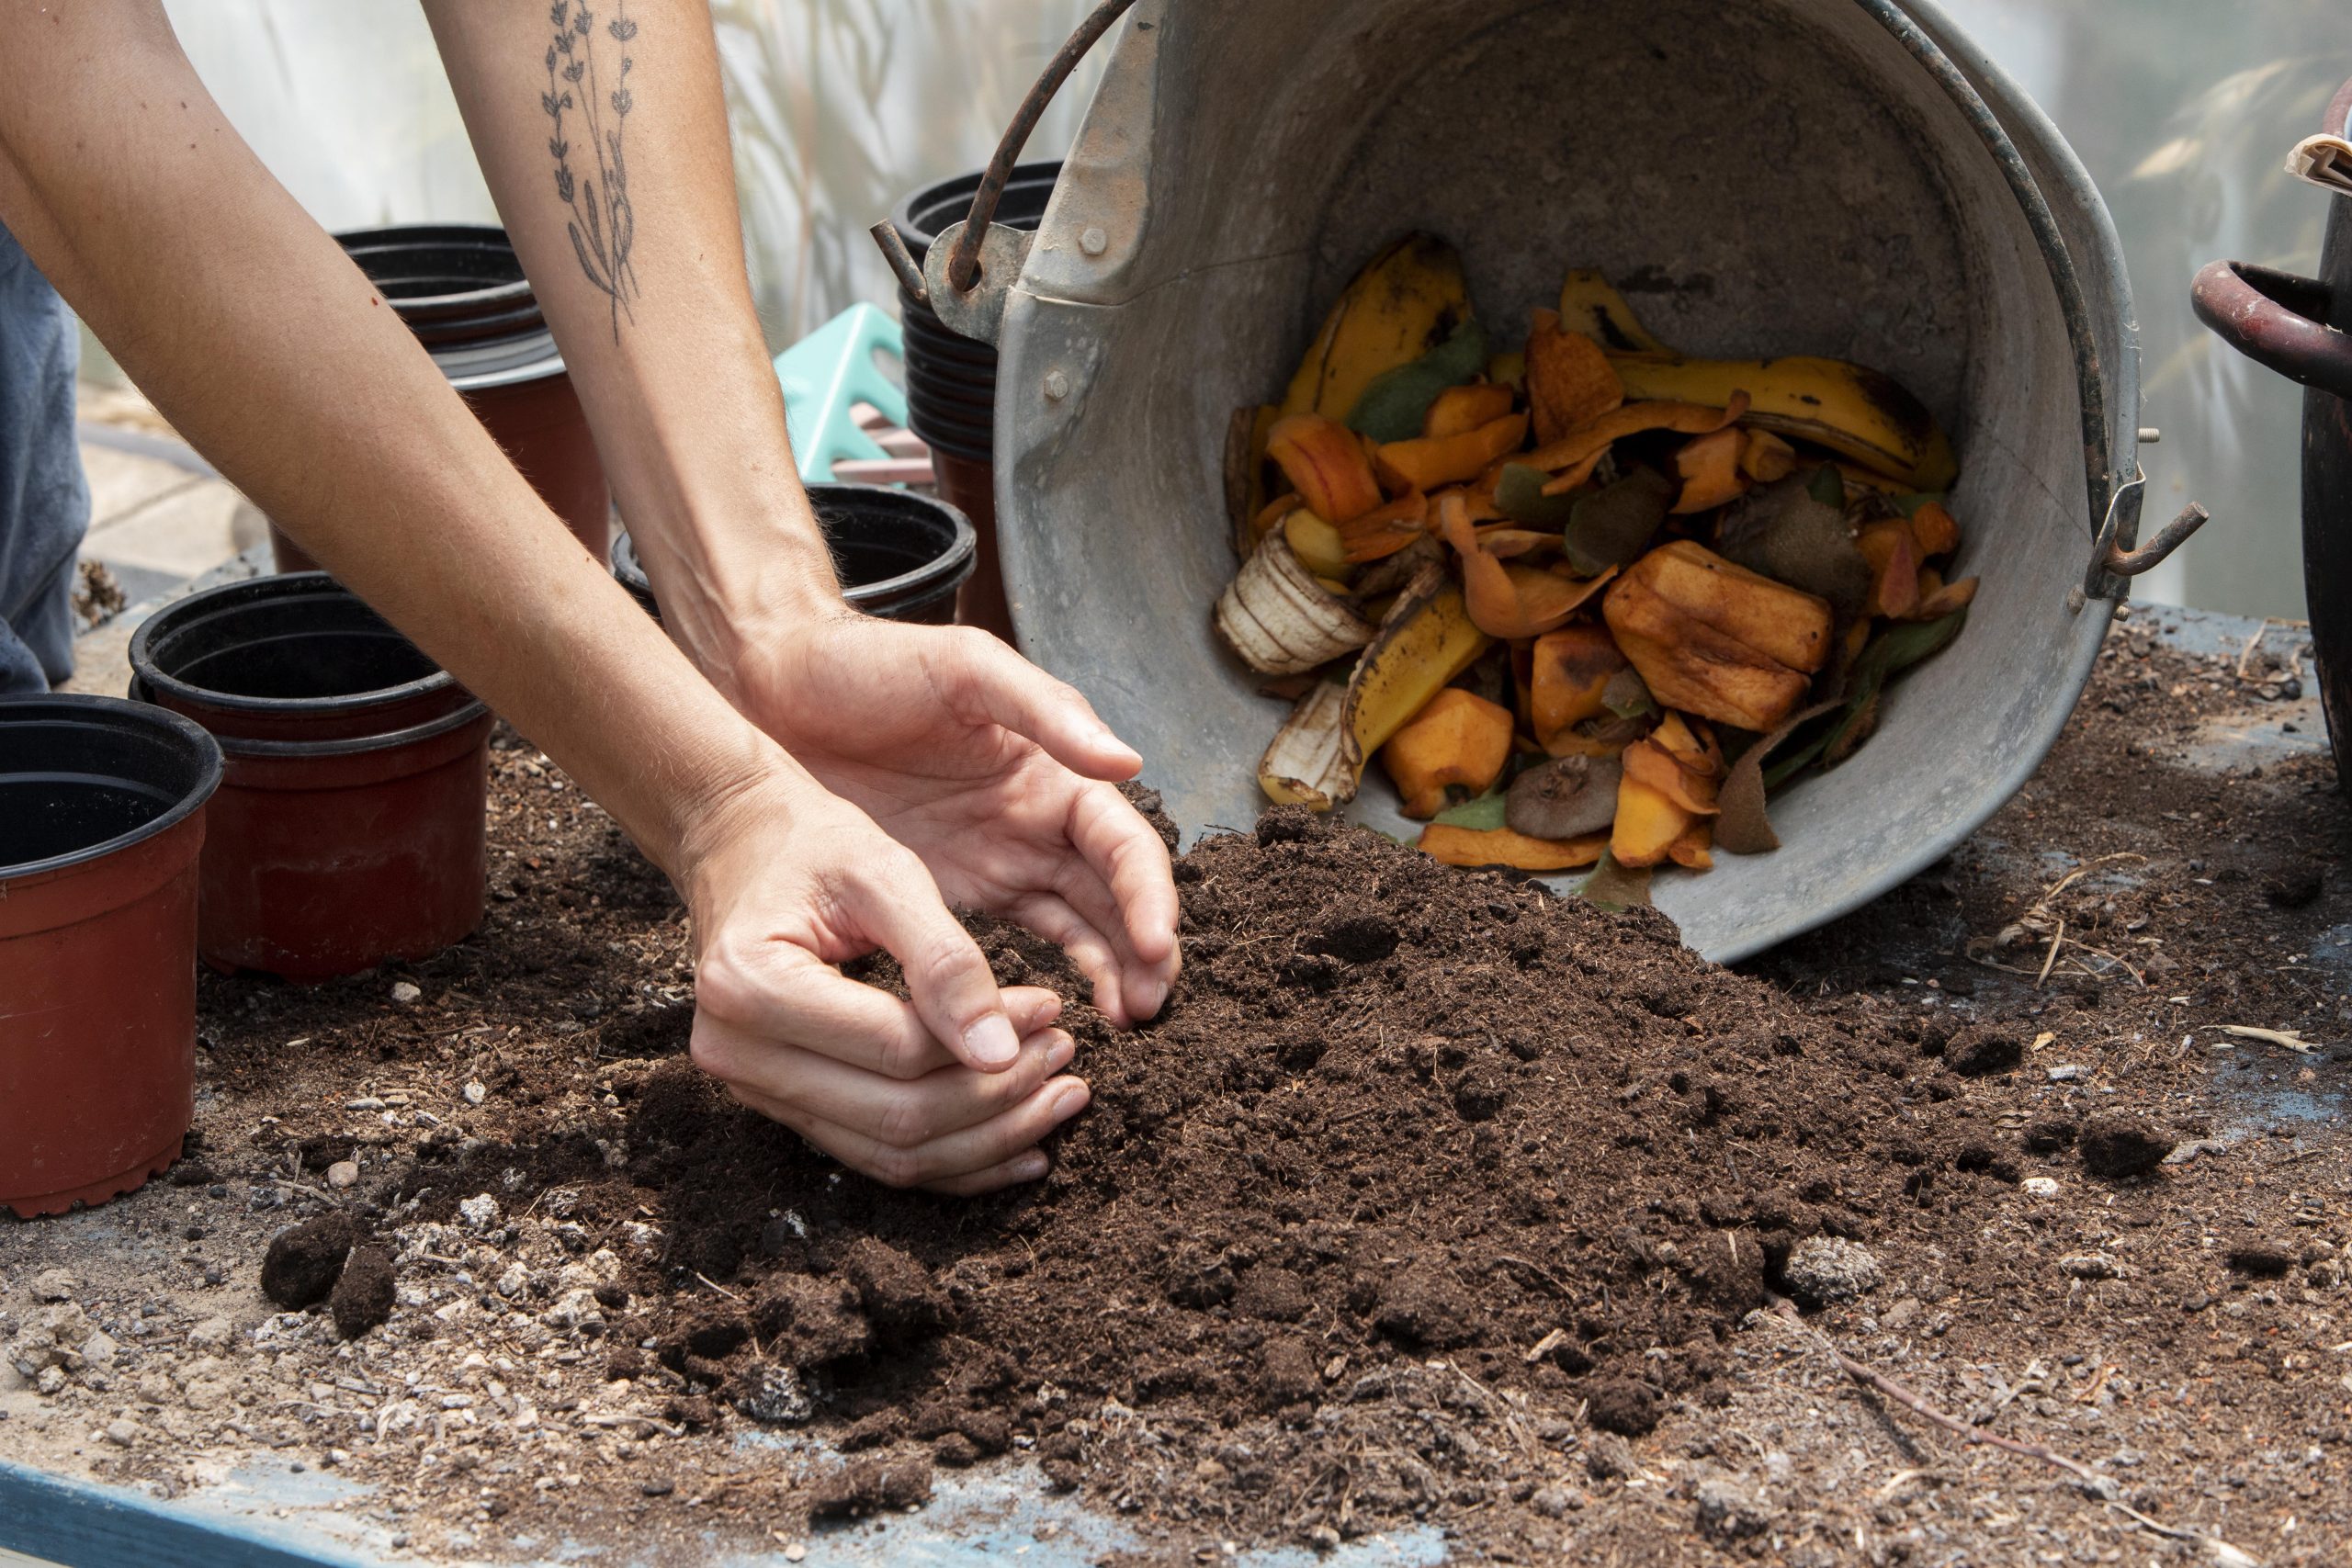
Indoors — vermicomposting (worm bin) A worm bin lives under a kitchen counter, processes food scraps quickly, and produces castings that are among the most nutrient-rich soil amendments available. It’s odourless when maintained correctly, and compact enough for a flat. Insider tip: store your food scraps in the freezer rather than a countertop container. Frozen scraps don’t break down — no smell, no fruit flies, no mess when you empty the container into the bin.
Community — green bin or local scheme Most local councils across the UK and Europe offer food waste collection. Your green bin will typically accept all food scraps except meat, dairy, and bones. One important note: never put anything toxic or non-compostable in a shared collection — it goes into our soil and eventually our food. No green bin on your street? Contact your local council and ask for one. You can also look for a community garden or urban growing project that accepts food scraps.
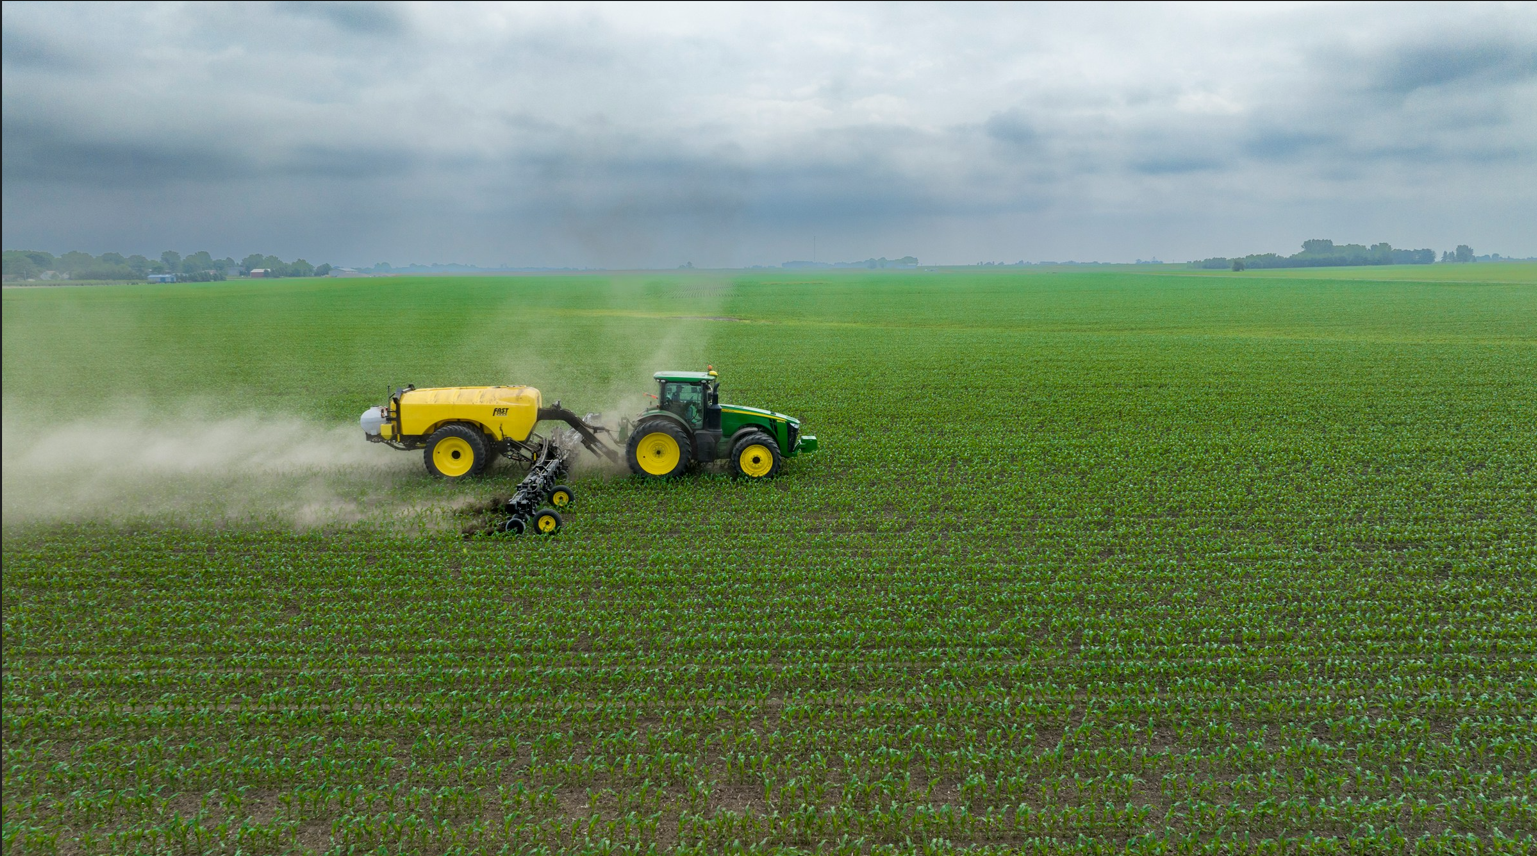
Backyard — outdoor compost pile or bin The classic method, and the one with the biggest output. Read on for the full breakdown.
Step 2: Know what to compost
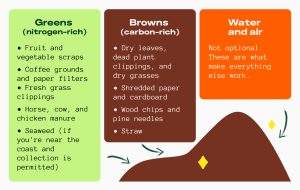
A healthy compost pile needs a balance of two types of material, plus water and air.
Greens (nitrogen-rich)
- Fruit and vegetable scraps
- Coffee grounds and paper filters
- Fresh grass clippings
- Horse, cow, and chicken manure
- Seaweed (if you’re near the coast and collection is permitted)
Browns (carbon-rich)
- Dry leaves, dead plant clippings, and dry grasses
- Shredded paper and cardboard
- Wood chips and pine needles
- Straw
Water and air — not optional. These are what make everything else work.
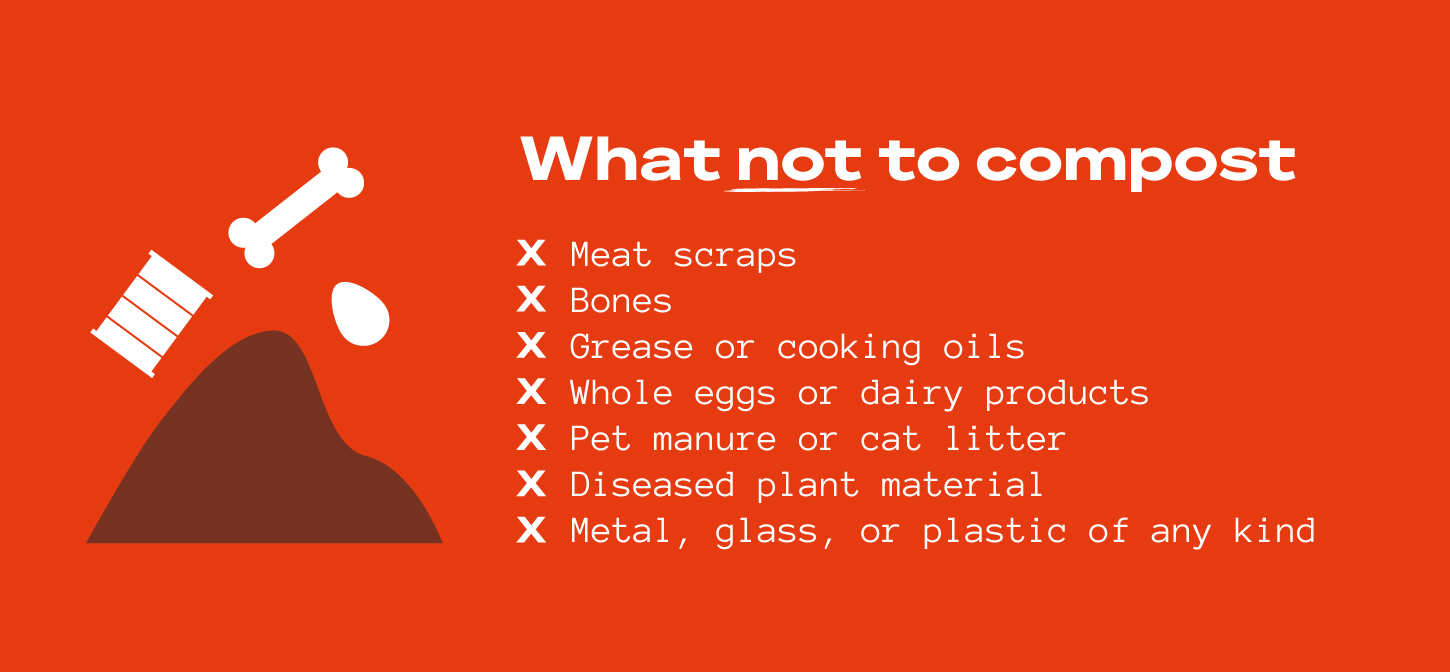
What not to compost
- Meat scraps
- Bones
- Grease or cooking oils
- Whole eggs or dairy products
- Pet manure or cat litter
- Diseased plant material
- Metal, glass, or plastic of any kind
Adding these risks attracting rodents, generating unpleasant odours, or introducing pathogens into material that will eventually go into your soil.
Step 3: Build and maintain your pile
- Start with a wooden bin, a purpose-built compost bin, or simply a designated spot in the ground
- Layer greens and browns, think lasagne, not a single dumped heap
- Aim for roughly 1–3 times the volume of browns to greens; the more browns, the slower and drier the pile, so adjust based on what you’re adding
- Add water to keep the pile damp, it should feel like a wrung-out sponge
- Turn it every one to two weeks to introduce air and keep the aerobic process moving
One thing worth knowing: a well-maintained pile generates serious heat. Internal temperatures can reach 55–70°C, which is enough to destroy pathogens, fly larvae, and weed seeds. This is the pile doing exactly what it’s supposed to do.
A well-maintained pile will be ready in three to five months.
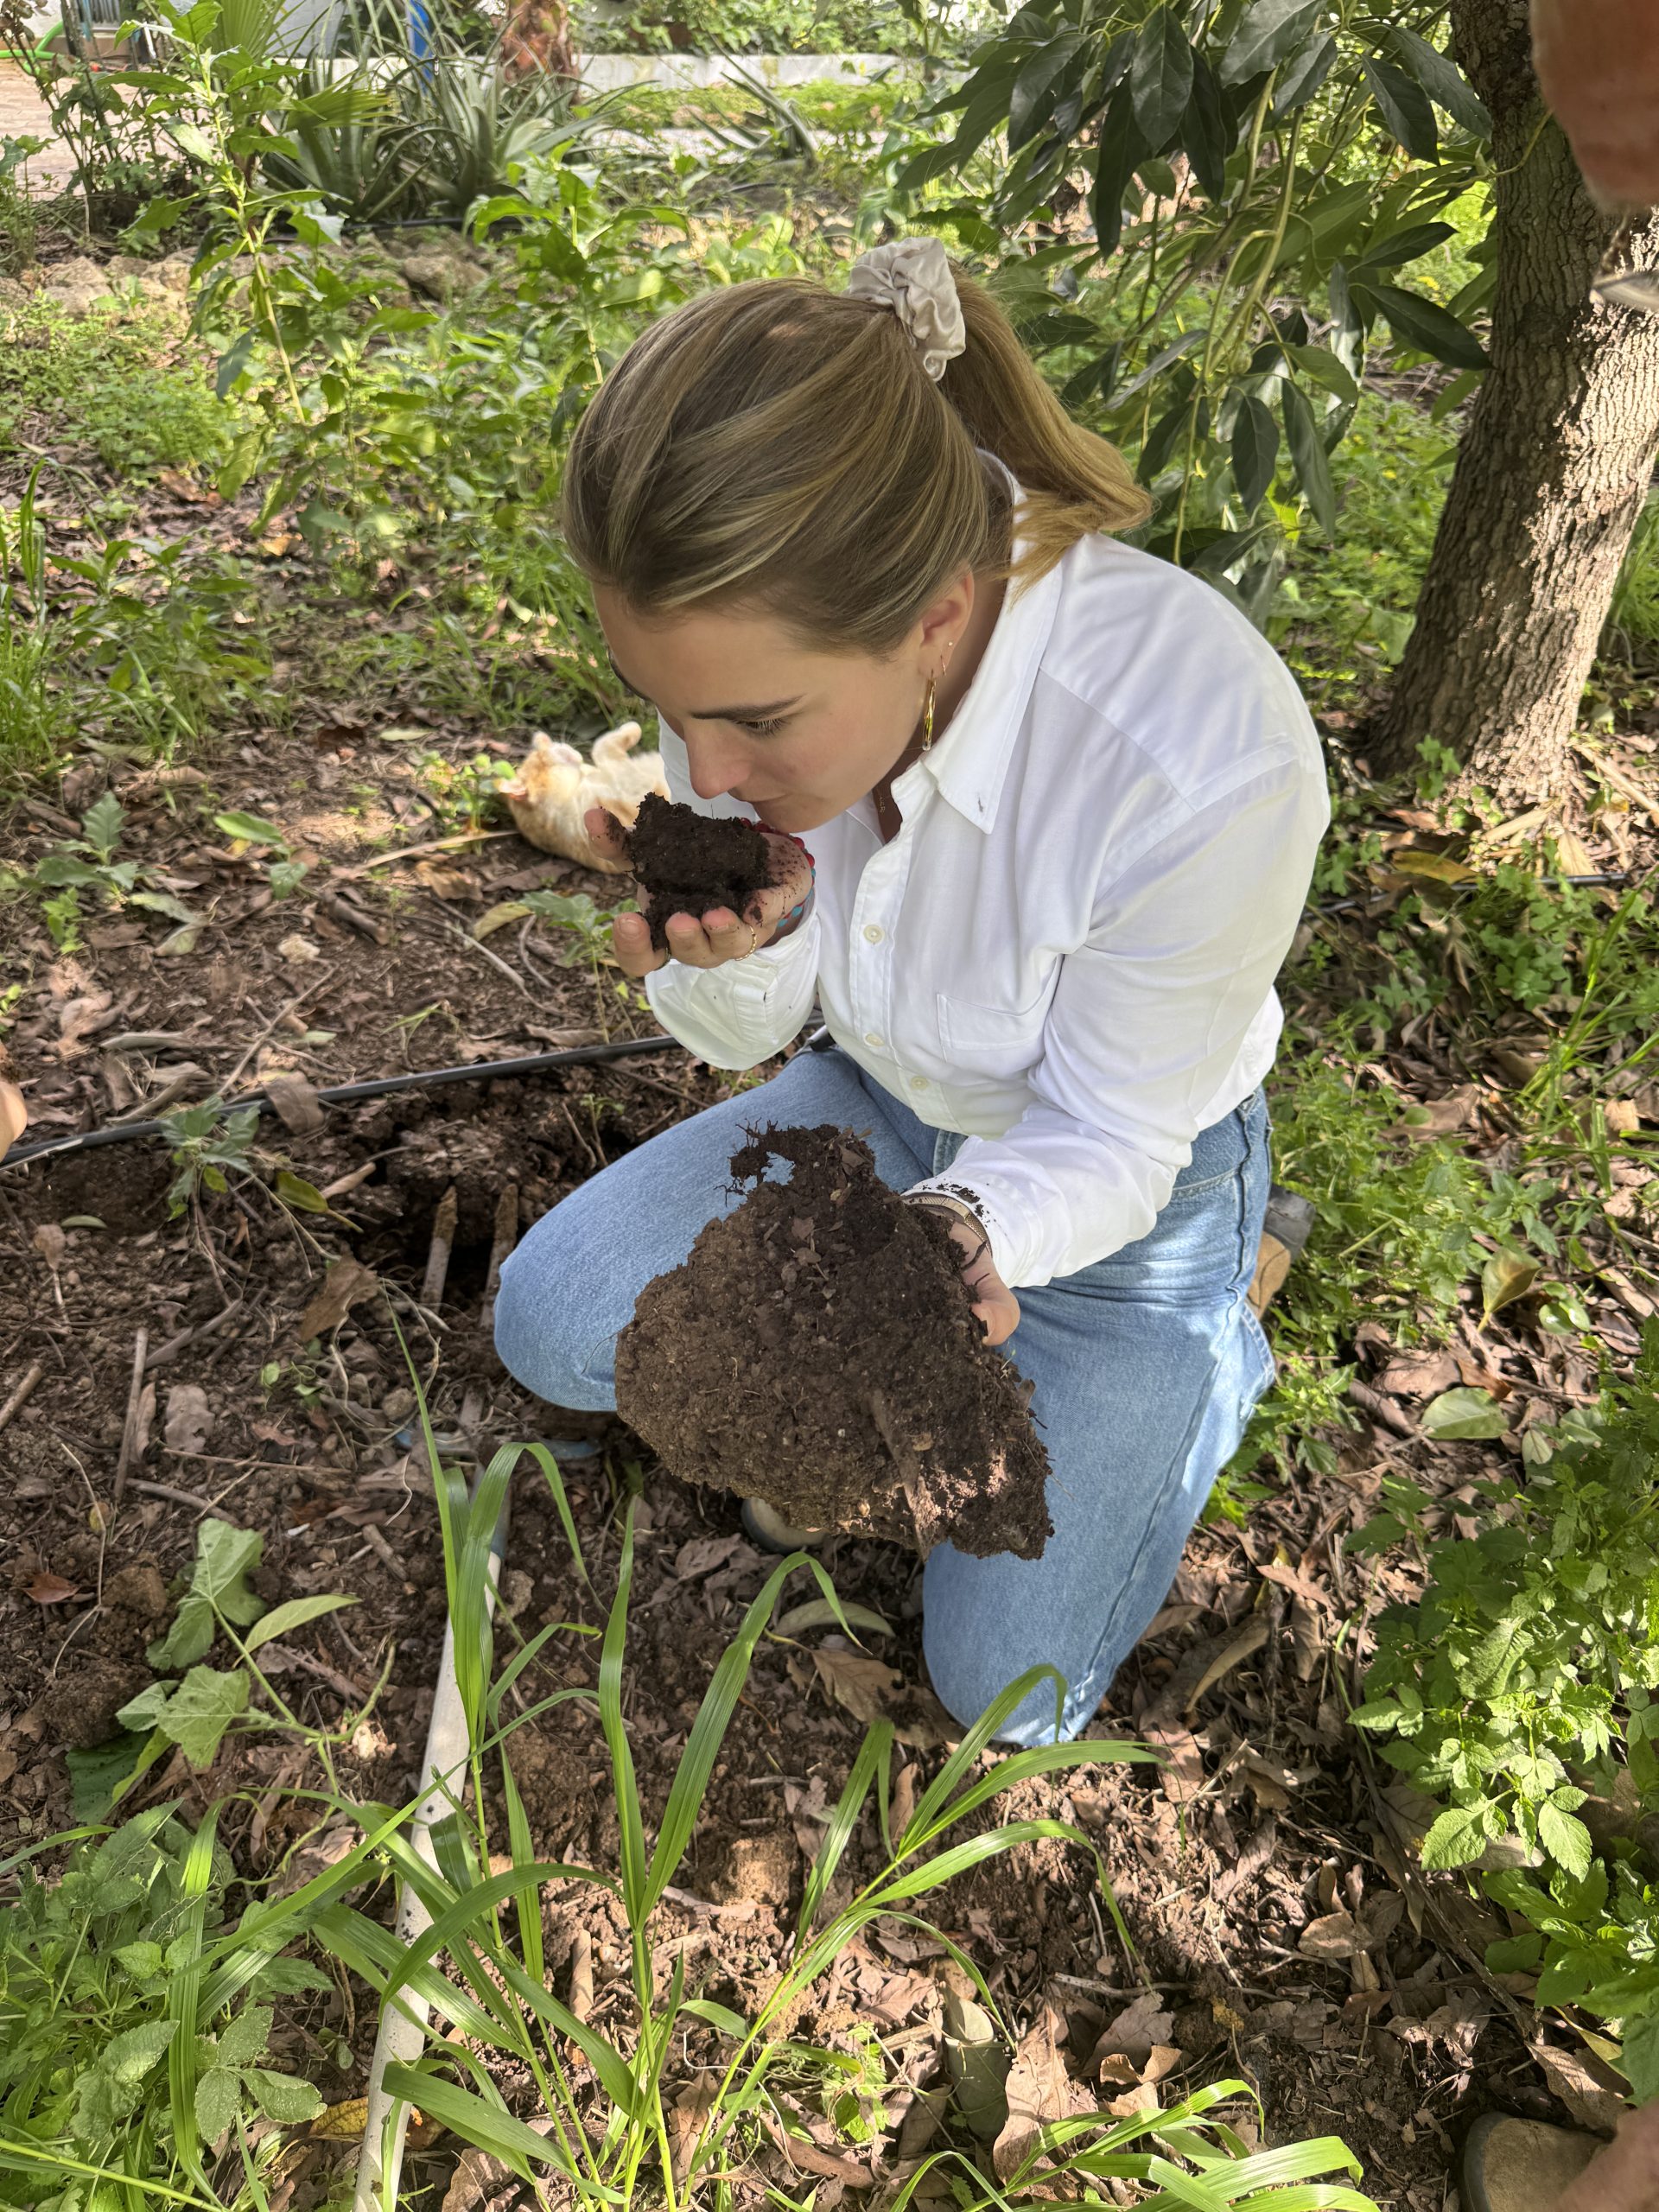
Step 4: Know when it’s ready, and how to use it
Signs your compost is finished:
- The pile is no longer generating heat
- No visible food scraps remain
- It smells like woodland soil after rain
- Dark brown, crumbly texture throughout
Once it meets these criteria, leave it for a further four weeks to fully stabilise before use.
How to use it:
- Work it into garden beds before planting
- Add to potted plants and containers
- Mix in when planting trees or growing vegetables
- Use as a mulch around established plants
As your soil improves over time, you’ll find it needs less water and fewer inputs. The food that comes out of it will be better for it too.
Quick troubleshooting
- Smells bad? Add browns, mix thoroughly, and make sure food scraps are covered.
- Dry and not breaking down? Add greens and water.
- Want to speed things up? Chop greens and browns into smaller pieces before adding, more surface area means faster decomposition.
Want to go deeper?
Three books worth having:
- Worms Eat My Garbage — Mary Appelhof
- The Rodale Book of Composting — Grace Gershung & Deborah L. Martin
- The Secret Life of Compost — Malcolm Beck
Written by Emilia Aguirre

Emilia Aguirre is our Awareness & Advocacy specialist — which means she spends her days asking the uncomfortable questions about how our food is grown, priced, labeled, and sold. She hosts What The Field?!, a podcast packed with stories from the ground, hard-hitting research, and conversations with the people shaping the future of food (whether they like it or not).