Looking for more? 

We’re just an email away.

Recipes

45 min

Published April 2026

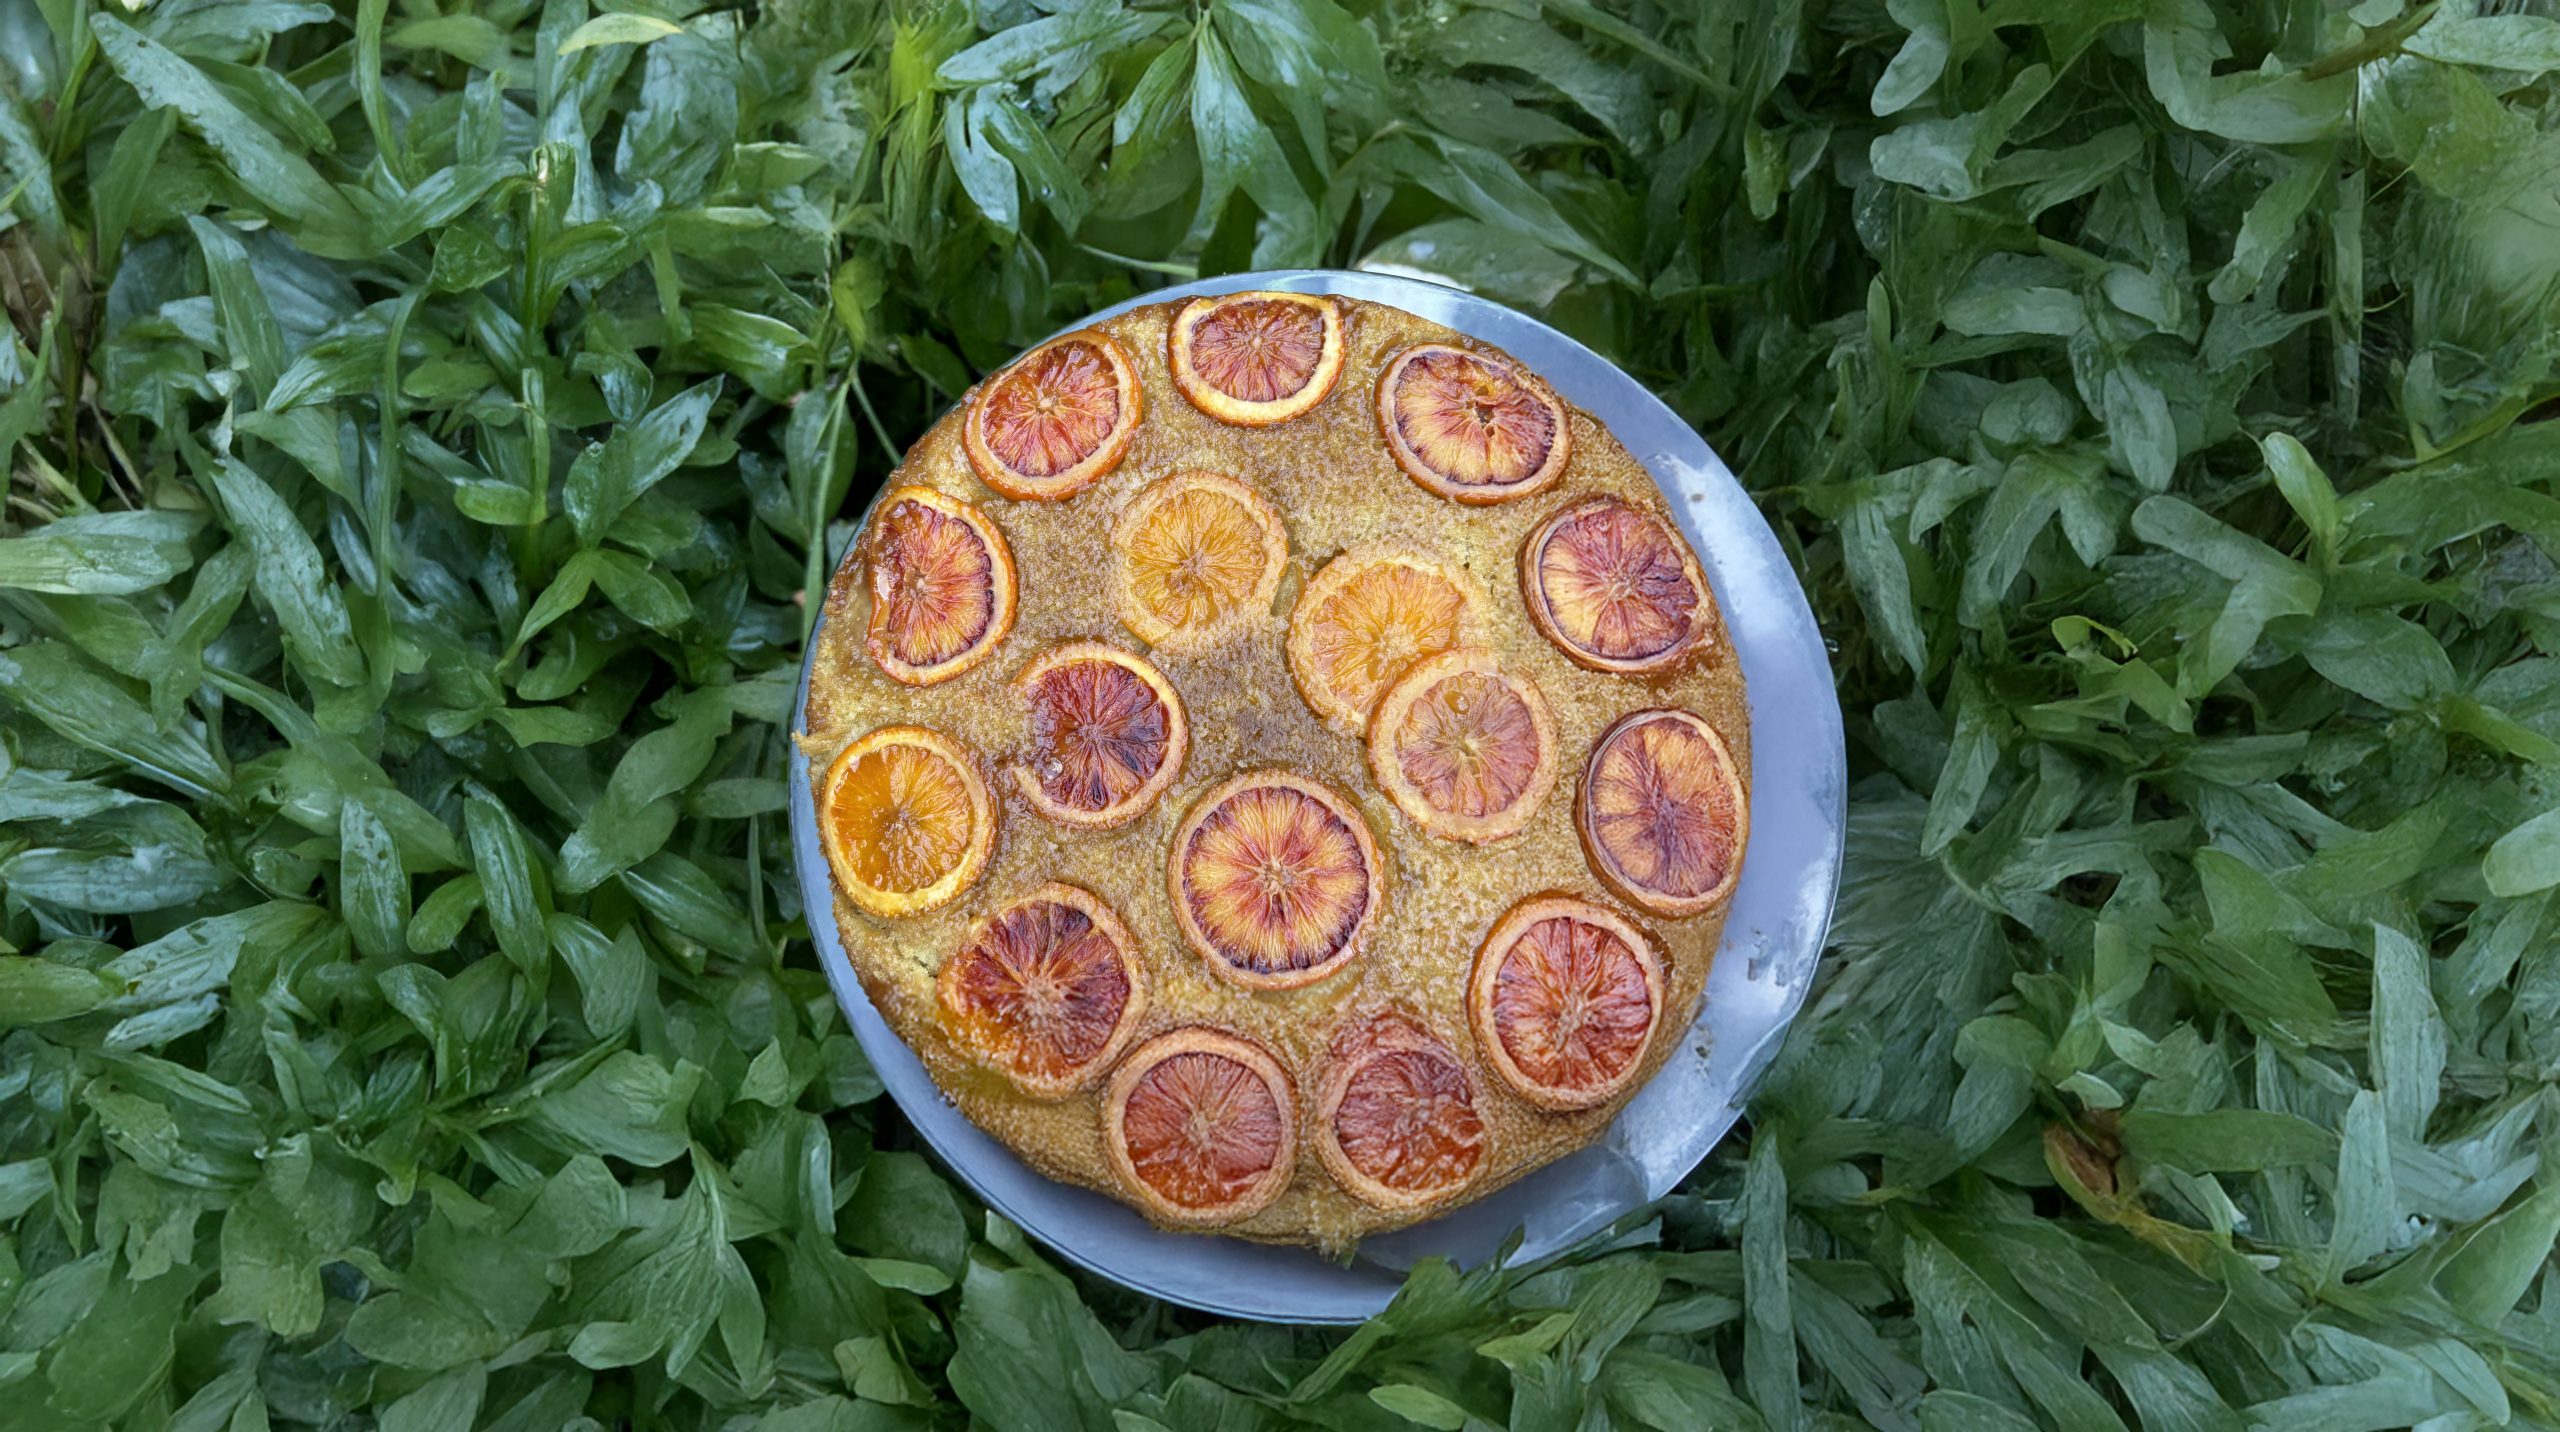
Blood Orange Olive Oil Cake

Blood Oranges are in season until April and few desserts showcase their vibrant colour and pattern quite like an upside-down cake.

Their deep red hue comes from anthocyanins, natural pigments that develop when the fruit ripens during cool nights followed by milder days.

The degree of anthocyanin production depends on growing conditions and is the reason for differences in patterns and pigmentation. Some orange, others ruby red, no two blood oranges are quite the same.

In this recipe, the oranges are sliced into thin rounds and arranged in a single layer at the base of the tin. In the oven, they caramelise and settle into the batter, doing the work of decorating all on their own.

Orange zest is folded into the batter to bring a fragrant citrus aroma which, combined with olive oil, creates a rich flavour and a tender, moist crumb.

Made with simple ingredients, this blood orange olive oil cake is a great way to celebrate the start of spring and the last of the blood oranges!

Here’s how to make it:

Ingredients:

  • 2 blood oranges
  • 375 g self-raising flour
  • 300 g sugar
  • 2 tsp baking powder
  • 1/4 tsp salt
  • 240 g Greek yogurt
  • 240 ml olive oil
  • 3 eggs
  • 1 tsp vanilla extract


Preparation:

  1. Preheat the oven to 160 °C
  2. Thinly slice one blood orange (including the peel). Line a 22–24 cm round cake tin with parchment paper and arrange the slices in a single layer across the base.
  3. In a large bowl, whisk together the flour, sugar, baking powder and salt.
  4. Add the Greek yogurt, olive oil, eggs, vanilla extract and the zest of the second blood orange. Whisk until just combined (avoid overmixing).
  5. Pour the batter over the orange slices and smooth the surface gently with a spatula.
  6. Bake for about 45 minutes, or until golden and baked through.
  7. Allow to cool in the tin for 10–15 minutes.
  8. Let the cake cool in the tin for 10–15 minutes before carefully flipping it upside down. Remove the parchment and serve.

Written by Sofia Cadahia

Sofia Cadahia

Sofia is part of the Impact and Sustainability team at CrowdFarming, working at the intersection of nutrition, sustainability, and environmental justice. As a Registered Dietitian Nutritionist with a background in Digital Marketing, she uses storytelling to explore how food systems shape health, equity, and environmental outcomes, as well as the often unseen forces that determine who benefits, who bears the cost, and what ends up on our plates.

Comments

Your email address will not be published.

Share this content:

Keep digging ...

Recipes

40 min

Apple walnut tart recipe

With the holidays just around the corner, our farmer Kathrin Wiest from Biohof Hund has shared one of her favourite seasonal recipes: an apple walnut tart passed down through generations in her family.Kathrin grew up spending weekends on her grandparents’ farm, where she helped with the hay harvest, milking the cows, harvesting vegetables, and discovering early on the importance of knowing where your food comes from. “Good food doesn’t begin in the kitchen,” she says, “it begins in the field.”This profound appreciation for the land followed her through her career in gastronomy and now into her work at Biohof Hund, where she combines her diverse background in gastronomy, organic farming, and horticulture.For Kathryn, working on the farm is more than just a job: “It’s a return to my roots,” she says, “a conscious choice for sustainability and regionality, and a step toward a future that truly makes sense – for my family, for our farm, and for society as a whole.”For Kathrin, this recipe captures values she grew up with: simplicity, seasonality, and a meaningful connection to the land.In this simple and delicious recipe, apples are arranged on top of a rich walnut cream and soft buttery crust: the perfect dessert to have around this winter.Save this recipe for your next holiday gathering!Apple & Walnut TartIngredients:  300 g spelt flour (plus a little extra for dusting) 120 g soft brown sugar Pinch of salt 2 medium eggs 200 g butter (130 g cold, 70 g softened, plus a little extra for greasing) 1 kg tart apples 2 tbsp lemon juice 150 g walnut halves 1 sachet vanilla sugar 50 g honey 80 ml double cream 1 pinch ground cinnamon Preparation:Place 250 g of the flour, 70 g of the sugar, a pinch of salt, 1 egg and the 130 g cold butter (cut into pieces) in a bowl. First mix with the dough hooks of a hand mixer, then knead briefly by hand until you have a smooth dough. Shape into a disc, wrap in cling film and chill for 30 minutes.Peel the apples, quarter them, remove the cores and slice into thin wedges. Toss with the lemon juice.For the filling, finely grind 50 g of the walnuts in a food processor. Beat 50 g soft butter, 50 g sugar, the vanilla sugar and a pinch of salt with a hand mixer until very creamy. Beat in 1 egg. Add the ground nuts and 50 g flour and mix briefly.Preheat the oven to 200°C (180°C fan). Roll out the chilled dough on a floured surface to about 30 cm in diameter and line a greased 28 cm tart or springform tin. Press the dough up the sides and prick the base several times with a fork.Spread the walnut cream over the base and arrange the apple slices on top. Bake on a rack set directly on the oven floor for 25 minutes.Meanwhile, for the nut topping, roughly chop the remaining 100 g walnuts. In a small saucepan, heat the honey, cream, cinnamon and 20 g butter, bring to the boil while stirring and simmer for 2 minutes. Stir in the walnuts.After the tart has baked for 25 minutes, spoon the nut mixture over the apples and bake for a further 10 minutes on the middle shelf.Leave to cool in the tin on a wire rack. Carefully remove from the tin and serve with whipped cream.

Read